Embeddable Moments
EARLY ACCESS
Embeddable Moments provides predefined use case templates that enable you to deploy fully-configured flows while simplifying the experience for your platform users. You can integrate the solution into your web application through an iFrame, enabling your users to:
- Activate use cases by using a step-by-step configuration wizard.
- Manage activated use cases, including performance analytics.
The corresponding Moments flows run seamlessly in the background within their dedicated Infobip accounts or an isolated X tenant.
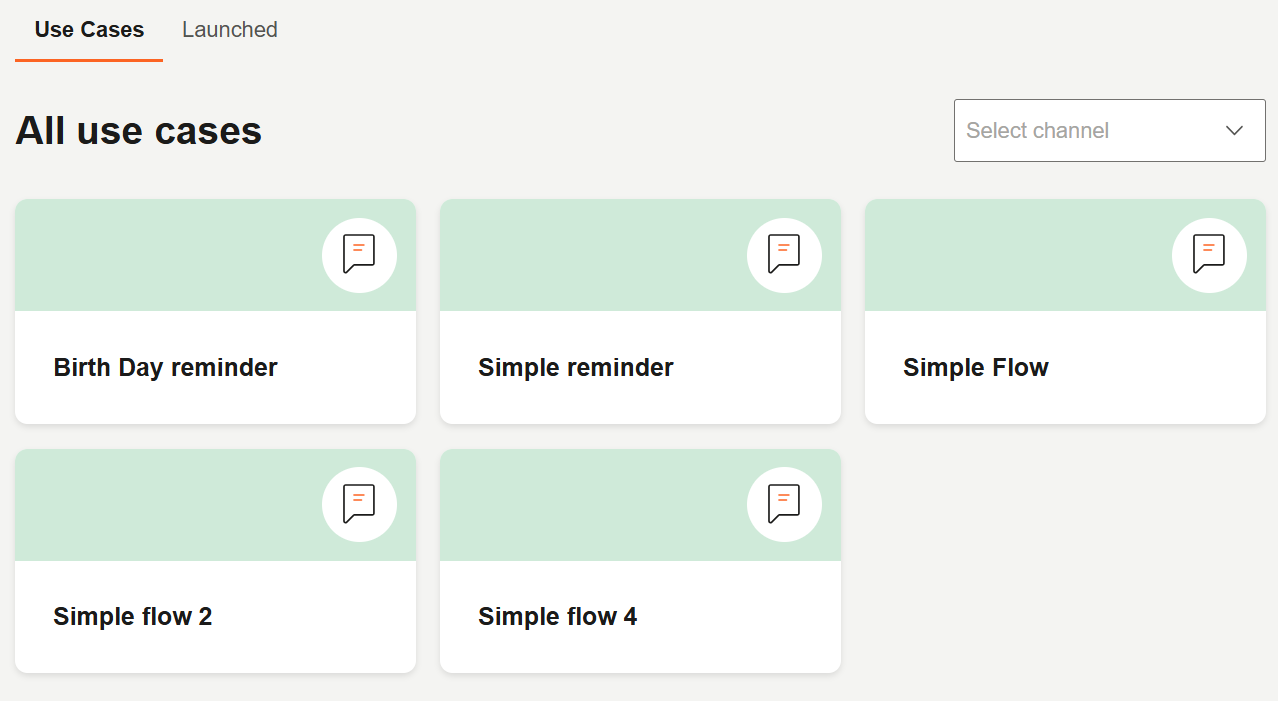
The following image shows an example of the embedded interface.
Prerequisites
-
Infobip account with Account management role.
-
Generate API key (opens in a new tab) with the following API scopes.
- account-management:manage - to be able to initiate OAuth PAR flow.
- flow:manage
- flow:read
- flow:use
Compatibility with X
You can use Embeddable Moments with or without X.
Process overview
-
Use the Campaign wizard iFrame component that has predefined templates (use cases).
To work with the Campaign wizard iFrame component, you need to provide a request URI. This URI is used to access the Campaign wizard API.
This URI is generated and injected by the backend as part of a more secure authentication flow called OAuth Pushed Authorization Requests (PAR).
ImportantTo create the use cases and to manage existing use cases, contact your Infobip account manager.
-
Add the Campaign wizard iFrame component to your webpage.
Your customers can then activate the flow to use it.
Your customers cannot edit the flow journey.
Generate request URI
Follow these actions on your backend before rendering the frontend with Moments.
-
To initiate OAuth PAR flow, send a POST request to the following URL.
POST https://api.infobip.com/embeddable/1/auth/parUse the following headers.
'Content-Type': 'application/json',
'Authorization': 'App <api-key>'
Use the following payload.
{

    "embedding_id": <embedding_id>,
    "scopes": ['flow:manage', 'flow:read', 'flow:use'],
    "application_id": "<application_id>", // if needed
    "entity_id": "<entity_id>̣" // if needed

    "embedding\_id": , "scopes": \['flow:manage', 'flow:read', 'flow:use'\], "application\_id": "", // if needed "entity\_id": "̣" // if needed}
The cURL request would be as follows.
curl --location 'https://api.infobip.com/embeddable/1/auth/par' \ --header 'Authorization: App <api-key>' \ --header 'Content-Type: application/json' \ --data '{ "embedding_id": <embedding_id>, "scopes": [ "flow:manage", "flow:read", "flow:use" ], "application_id": "<application_id>", "entity_id": "<entity_id>" }' -
The response contains the object with
request_uriparameter. Use this parameter in the iFrame component.
Add the iFrame component to your web page
Include the following iFrame component on your web page.
<iframe src="https://embeddings.infobip.com/authorize?request_uri=<request_uri>"></iframe>